Preferred headline heights

Contents
You can define a default height for the headline box or a series of preferred values, to automatically use with the HB tool.
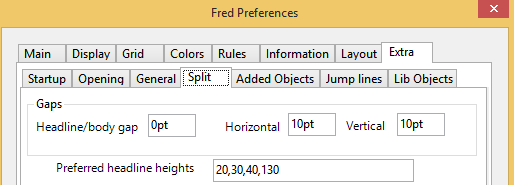
To define that all headlines, created with HB tool will have the same, fixed height, disregarding the height of the drawn area, on the Edit menu, click Preferences, and then click the Extra tab. Click the Split sub-tab. In the Preferred headline heights, enter a single value, e.g. 36pt, or a series of comma delimited values.
One-value headline height: Enter the height of the headline frame you want to achieve in auto-splitting (headline and body columns). Such height is maintained, independently of the shape height. Specify the measurement unit too. Example: 38pt. This changes the keyword F_DefHeadHeight.
Multi-value headline heights: To limit the headline heights only to a list of predefined values, enter such series of heights e.g. 9.5,19,28.5,38,57,66.5,76,85.5,95,104.5,114,123.5,133,142.5,152,161.5,171,180.5,190,199.5,209. Fred4 will then normalize the headline height to the closest value which corresponds to the height of the designated area, and apply it.
If Lock to grid is ticked and the value you specified does not provide alignment to the grid, Fred4 will automatically use a closest possible value to align object to the grid.
How the preferred headline heights work? The calculation is performed by the GetHeadSize scripting method that reads values from the personal preference AFCS_AllowedHeadHeights. If it's empty, the default '30pt' fixed headline is created. If it contains only one value, that value is used as headline height. If it contains a list of values, than the temporary headline height is firstly calculated as 1/5 of the drawn area height, and then the list of preferred heights is searched with that temporary headline height: whichever preferred headline height is closer to the temporary height, it gets used. |
See also