Book space for a wire or archive image
| 1. | Do one of the following: |
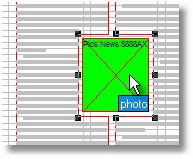
•Create a dummy image, as explained in Add a dummy image on a page in Fred4, or select an existing dummy on the page

•If dealing with articles, select a linked image placeholder in an article.
| 2. | On the Wires or Tark4 navigator of the Pages main tab, drag a wire or Tark image onto a dummy image or placeholder. You can do it on a read-only page too. Note: ensure that you've selected an "image" and not an "editorial image"! |
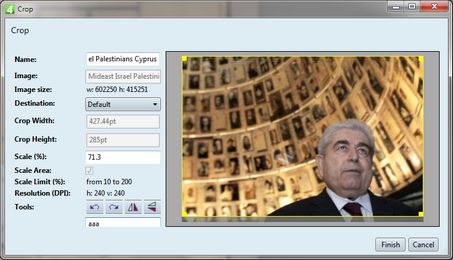
| 3. | Release the mouse button: the Crop dialog box is displayed, with the crop mask automatically sized to the dummy image size: |
| 4. | Move the crop mask on the most appropriate position, and/or scale it if required. To scale the crop mask, drag handles, or enter values in the Crop Width and Crop Height boxes. |
Please note that the value in the Scale box changes when you scale the crop mask. Bear in mind that crop destinations may have a scale limit built-in. This makes sure that the sent image won't be resized too much. The scale limit is displayed under Scale Limit (%).
Optionally, rotate or flip the image, and add some notes.
| 5. | In Destination, select the crop destination (the copy of image will be sent there). Usually, select the image desk destination. |
| 6. | Click Finish when done. |
| 7. | The confirmation is displayed. Click Close. The image appears in the placeholder. |
See also
Add a dummy image on a page in Fred4
Add a dummy image to the article on the Articles main tab

