Bleed and slug area

Contents
Bleed area
The objects arranged at the outer edge of the defined page size may print with some white at the edge of the printed area due to slight misalignment during printing. For this reason, you should position an object that is at the edge of the page of the required dimensions a little away from the edge, and trim after printing.
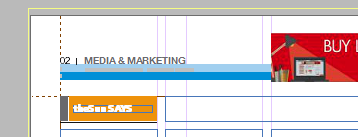
In Fred4 versions 2.3 or earlier, the bleed area is delimited by the paper size. In Fred4 version 2.4 or newer, the bleed area is custom. You can set bleed margins in the Master Data palette and the color in the Page Preferences. On the following screenshot, the bleed box color is yellow and its top margin is different that its left margin.
Note: the bleed settings will be effective in output only if enabled in the print configuration and if not overridden. See Marks & Bleed tab.
Slug area
The slug area is used for instructions to the printer, sign-off forms, or other information related to your page, e.g. printing information, color bar etc. It is discarded when the page is trimmed to its final page size.
In Fred4, the slug area is not visibly delimited, but you can add a nonprinting box to all the masters depicting slug area. The horizontal dimensions and position of the slug are must not exceed paper width, as Fred4 will trim off all the objects outside of the paper boundaries.
Note: Fred4 supports a default slug area on top of the printed page, where the page caption is printed. Typically, the caption is printed only on proofs. The paper size for proofing has to be calculated to include the necessary space for the caption. Normally, the caption is not printed for the final output, as it the increased paper height may cause misalignments in the automatic page pairing module.