Display page number in a circle with a section-based color

Contents
PREPARE COLORS
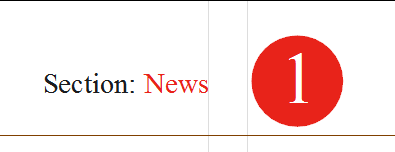
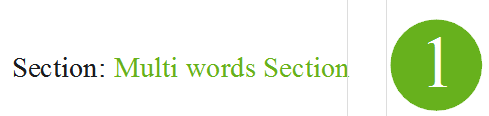
For all the sections of the given title that are supposed to have the section-based color, create a color in the permanent color table with the following syntax: colorSectionName, e.g. if the section name is News, the color name should be colorNews. If the section name consists of multiple words e.g. Multi words Section, the color name should be colorMulti words Section.
Please notice that the prefix color is attached with no space to the (first word of the) section name.
![]()
Create such colors for all the sections that may appear on the dateline, even if the color values are the same for some of the sections - what counts is the color name, and not the color content.
CREATE MASTER PAGE ELEMENTS
As it is possible to apply the section-based colors only by GNML tags, this excludes from such application all the page objects such as boxes, ellipses, circles, rules etc. Fortunately, there are partial workarounds for the most common situations: to get rules and boxes with the section-based color, use frame and fill it with color by means of the >arl tag. This won't work if you need to have dashed rules. For circles or any other shape, use the large bullet characters.
1.On the designated position on the master page, create a rectangular frame to host the circle character and scale it to the required dimensions.
2.Press the Spacebar and then insert tags as shown below, and then type the lowercase L letter:
![]()
Note: On our system, in this example, the font with the large circle bullet is numbered as 201, and the letter that corresponds to the circle bullet is the lowercase L. On your system, the appropriate bullet font may have a different number and your letter may be a different one. Moreover, have in mind that we see the bullet here because the Video font in the source pane is turned on for the current user.
Use the >h tag to set the type height at will. Use the >d tag to shift the letter up and down.
Use the temporary color (Magenta in our example) to be able to track the size and position adjustments, as the tag >co !@pg_sectionColor!< won't have any effect while you are editing the master page itself: it resolves to a transparent color as the master page itself is not assigned to any section. The color will become visible on pages which use that master.
3.Now create another, a bit narrower frame, and place it above the frame with the circle. Edit that frame, and insert the tag >writei PageNum< for the page number. Add other formatting as needed, e.g. center all vertically and horizontally.
4.Before leaving master page, return to the frame with color, and then remove the temporary color tag.
5.Save the master page.
TEST SOLUTION
1.Open a page that shares the master on which you created the dateline, and then change its section as explained in Change page section or zone.
2.Check if the colors changed to the section-based color.
3.Repeat the above with all other sections.