Create an image cut-out

Contents
Since the version 2.1 you can quickly create a simple image cut-out.
To create an image cut-out
1.Place an editorial image on the page and make sure it has no default border (if in doubt, press ALT+0 to remove the default border).
2.Release the snap to grid, and then add a box over the part of the image you want to keep standing. Make sure that the box width precisely covers the part you want to keep. It is not important if the box gets out of the picture - it is important that it is not entirely in the picture.
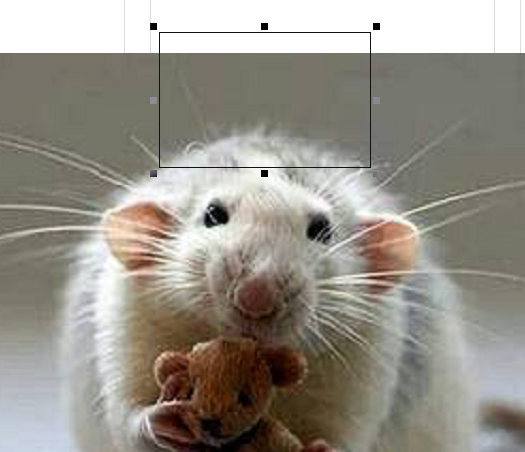
3.Select both the image and the box, and then on the Images menu, select Cut-Out.
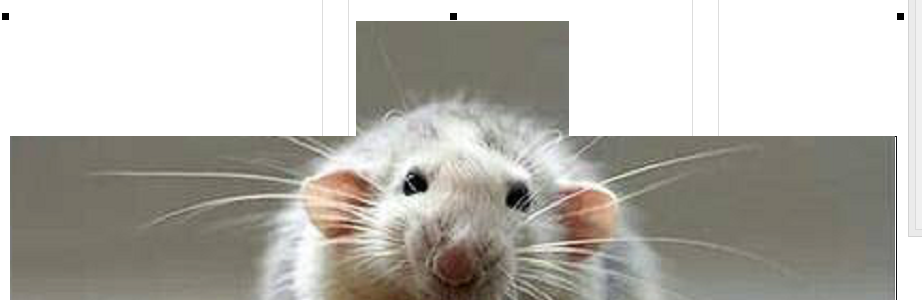
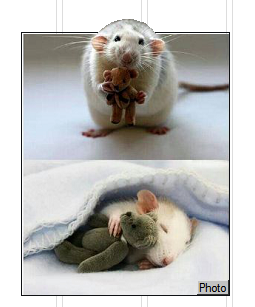
4.The box will disappear, and the image will be cut left and right:
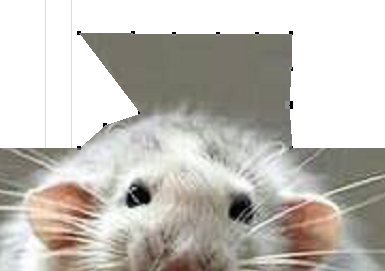
5.Switch to the polygon pointer, and then make the top shape to follow the image, adding more points where needed
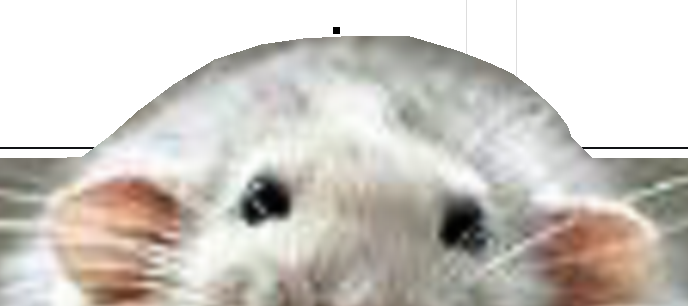
6.The final result may be something like:
Notes
•The image border is automatically created by adding a box under the uncut part of the image. The box dimensions are slightly bigger than the image, so it is visible even it lays below the image.
•The border weight is read from the default Box weight in the Preferences (Edit > Preferences > Rules > Box).
•Due to the calculation bug of the image top position, sometimes the top border can appear thinner than on the other sides, or there might appear a tiny white line. In such case, select the box under the image (CTRL+Click to select it), and then adjust it manually.