Create logical groups in the new library object

Contents
APM requires that all the content in a library object makes part of a logical group. There could be more logical groups in the same library object, but no element of the library object must be out of those logical groups.
Note about the page stationery (if any)
If the page contains more articles and some page stationery, you need to choose to which article you want to group the stationery. Typically, the stationery is to be grouped in the same logical group with the lead article. However, you can group it also to another article as long as you do not enable that article for shape replacement.

Create logical groups in the library object that contains more articles
1.Select all the elements of the lead article in the library object, and include also the related page stationery.
2.Right-click, point to Logical Groups, and then click Set Name.
3.Enter an unique name for the logical group.
4.Proceed with the next article, until all the articles are done.
Count logical groups
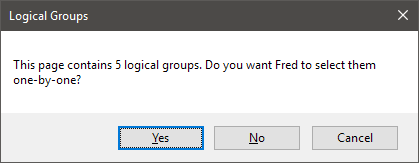
On the Auto-paginate menu, click Show LGs count. Review the displayed number of the logical groups - it has to correspond to the number of articles in the library object.
Test logical groups
1.Middle-click the first logical group, and then press the LEFT ARROW key.
2.Make sure that all the expected object moved left.
3.Press the RIGHT ARROW key to bring objects back.
4.Repeat this for all other logical groups.
If you find that there are ungrouped page elements
1.Middle-click the logical group where you want to add those page elements.
2.Press and hold SHIFT and then drag over the page elements to add to select them.
3.Right-click, point to Logical Groups, and then click Add to Current Group.
4.Re-test the logical group as explained in the previous paragraph.
u Proceed to the next topic in the table of contents.