Upload content in browser

Contents
1.Launch your Web browser and connect to the GN4 Web server.
2.Sign in with your GN4 user name and password (if prompted to do so).
3.Click Upload.
4.On the File Upload form, click Browse.
5.Select one or more files to upload, click OK and wait until the files are uploaded on the server. See Upload duration to learn about typical upload times.
6.When the upload is complete, review the list of uploaded files. Note: at this point, you can remove a file from upload, by clicking Remove next to the file name.
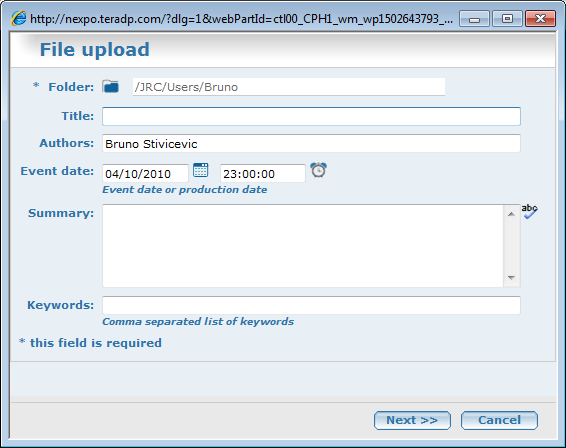
7.Click Next, to display the Upload - Files Information form.
8.Under Folder, click the ![]() icon and then select the folder where the uploaded multimedia will be stored.
icon and then select the folder where the uploaded multimedia will be stored.
9.In Title, enter the title or leave it empty (to keep the title of uploaded files).
If you do not enter any title, it is auto-calculated from: document title (metadata) if any, or from the document file name.
10.In Authors, enter the author name and enter data in other fields (if any; the form layout depends on your system's configuration).
11.Enter other data, available on the form.
7.Click Finish to start multimedia validation. See Automatic content validation for more details.
8.The form closes automatically
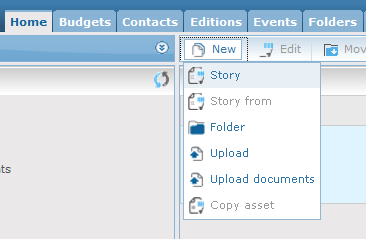
From "Browse" main tab
If you are on the Browse main tab, on the menu bar, under New menu, select Upload, and then follow above steps from the step #4.
Review the validation results: if everything was ok, it reads Upload completed successfully. Otherwise, review displayed errors, do what's necessary to fix them and retry upload with updated files.
Click Close to close the form.
See also
Create a package in Web interface