Print articles as draft

Contents
Draft print of an article prints all text in the same point size and in predefined font (typically Courier), with all special characters visible (Bell, end-of-paragraph ¶, end of line ¬, justification mark ¤ etc.). Markup tags are never printed in GN4 draft printing.
To print the current article as draft
1.Open an article on the Articles main tab and click any element of the tree.
2.On the File menu, point to Print, and then click Draft. This displays the print dialog box:
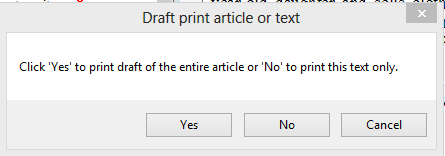
1.Click Yes to print the entire article, or No to print the current text element. The dialog box with the print configuration is displayed:

2.Select the configuration name, and then click Ok. This will print in the pre-defined way on the printer, selected in Windows printer, and requires no modifications of the configuration. An alternative is that you can change the configuration - if authorized - and select other options.
About draft printout
The draft printout may look like (on the left side, the printout when tags were hidden, on the right side, the printout when tags were displayed):

GN3 printout looked as below (on the left side, the printout when tags were hidden, on the right side, the printout when tags were displayed):

Note
To achieve the printout as above (as a screenshot), use a XPS printer driver.