Display geometry of an article

Contents
You can display the geometry of the current article or text for the current region in the WYSIWYG pane of Ted4 (and on the page in Fred4, or Ted4-Extra).
|
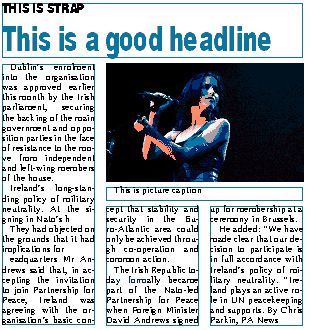
In this example, the current article is displayed with area borders shown, and disposed as on page. The frames borders are blue, since the all text elements fit. Note: when you display the WYSIWYG pane, Ted4 automatically turns on the automatic text justification. |
Since the geometry is related to regions, it is displayed in Ted4 only if the current article or text has a geometry in the current region. If the current article has no geometry in that region, it is displayed in WYSIWYG pane, split in so many parts as the number of article elements.
|
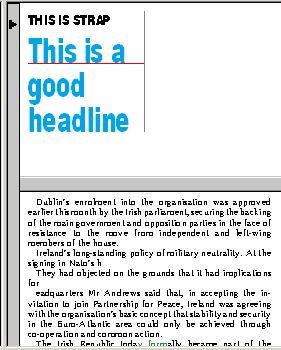
In this example, the current article has no geometry in the current area; thus, article elements are displayed in separate parts of the WYSIWYG pane. On the figure, only two elements are displayed: you can scroll the WYSIWYG pane to display others too. |
On your Articles main tab, on the Edit menu, click Preferences, and then Display sub-tab of the WYSIWYG tab, select or clear following check-boxes:
•Show area borders, to toggle the display of frames borders. Note: if you turn off the frames, you won't be able to see if text elements are fitting or not.
•Show images, to toggle the display of images, or image placeholders.
•Dispose as on page, to display text columns one below each other (not recommended), or to display it as on page.
•Show paragraph grid, to display optional markers of paragraph style spaces (only for the styles that were enabled for this feature).