Load add-ins in the GN4 database

Contents
Load add-ins in the GN4 database
1.Run EdAdmin4 and under Application Configuration, click Client add-ins.

2.In the Add-ins list, select all add-ins, right-click them and then click Delete.
3.On the Addin menu, click Add for x86 platform or Add for x64 platform.
4.Select all add-ins in your compilation output folder - MAKE SURE IT'S THE FOLDER FOR THE SELECTED PLATFORM - and then click Open.

5.The add-ins are now imported in the database and will be automatically deployed on clients, unless clients are started with the /noaddinsautoupdate command line parameter.
Notes
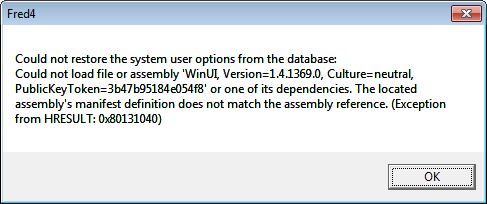
Should an user attempt to run GN4 applications through ClickOnce, but the add-ins in the GN4 database are not in sync with the ClickOnce package, the following error message is displayed:
Important note: when add-ins are loaded in database, all GN4 applications that are started without /noaddinsautoupdate switch will load add-ins from database instead from the local GN4 drive. While this might be optional for the users who access locally installed GN4, it is mandatory for the users who access GN4 through ClickOnce.