Create an APM object from a ready-made page
The recommended approach is to make sample pages, identical to the original pages, and then place them in the appropriate library object.
Create shapes from a ready-made page
Note: it is assumed that the page to be stored in the library contains logical groups with any name, and that the appropriate formats are assigned to the shapes.
1.Right-click on an empty space on the editorial layer, and then click Check LGs and create names.
2.When prompted, enter the name of the library object where you intend to store the shapes.
Note about the object name: for the object name you can use any naming convention. It is recommended to use the following one: number of articles the shape contains, e.g. "2", the suffix "art", and the object ordinal number in the library, e.g. if it is the first object in the library, then "v1", otherwise, "v2", "v3" and so on.
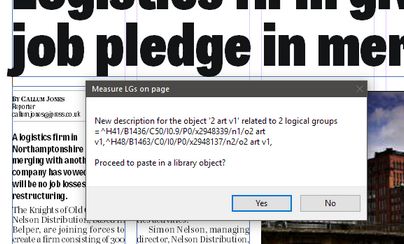
3.When prompted to proceed to paste in a library object, revise the proposed description, and then click Yes.
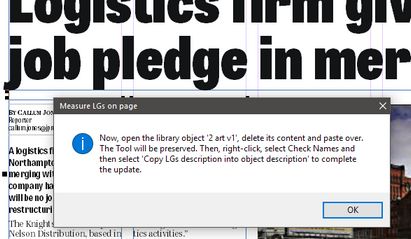
4.The instruction message is displayed, that assumes that a library object already exists, and it has to be updated. Note: the selected objects on page are automatically copied to the Windows clipboard and ready to be pasted in the library window:
5.Do one of the following:
•If the library object with the specified name already exists, double-click it in the library navigator, to open it. Then, select all shapes and delete. Then, press CTRL+V to paste, and - while the pasted content is still selected - on the Measurement palette enter 0 in X, press TAB, and then enter 0 in Y and then press Return.
•If the library object with the specified name does not already exist, click the triangle icon next to the Library drop down list in the Navigator's search pane, and then click New Library Object From Selection. In Name, enter the same name you entered in the step 2, and then click OK.
•If the library object with the specified name does not already exist, click the triangle icon next to the Library drop down list in the Navigator's search pane, and then click New Empty Library Object. In Name, enter the same name you entered in the step 2, and then click OK. Press CTRL+V to paste the object, and - while the pasted content is still selected - on the Measurement palette enter 0 in X, press TAB, and then enter 0 in Y and then press Return.
6.When the object is created (or updated), right-click anywhere outside the library shapes, click Check LGs and create names, and then click Update object description from LGs.
7.When the confirmation is displayed, revise if everything looks right, and then click OK.
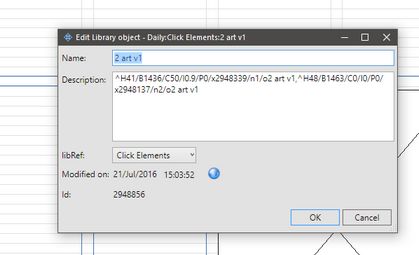
8.To check the object description, right-click the library object and then click Edit:


